Load Dispatch Management
Load Dispatch allows users to plan deliveries by grouping Sales Orders, Transfer Shipments and/or Purchase Return Orders together as Loads. Loads represent the space capacity of a delivery truck.
Once the loads are created the driver’s optimal delivery route can be planned, this can be done manually or using a Google Maps integration to optimize the route.
An integration with Google Maps exists that will determine the time it takes to travel between destinations. In order to use the integration with Google Maps - clients will need to generate their own API Key. This is tied to a credit card because Google will charge if the transaction volume exceeds a certain amount. Instructions for generating API keys can be found here.
Loads can be suggested based on the following criteria on Sales Orders, Transfer Orders and Purchase Return Orders:
- Salesperson/Purchaser
- Sales Territory
- Shipment Method
- Shipping Agent
- Shipment Date
A driver report with their deliveries and a bill of lading can be printed from the Load.
Outstanding shipments that have not been assigned to a load can be viewed on the Load Dispatch page and manually assigned to Loads. The documents must be released for the outstanding shipments to be on the Load Dispatch page.
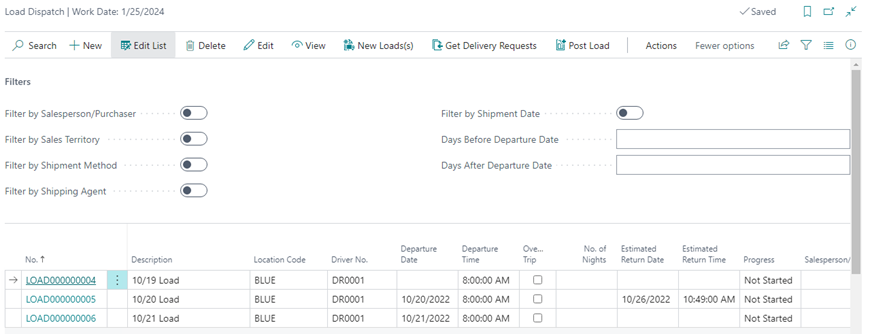
How to: Create Loads via Load Suggestions
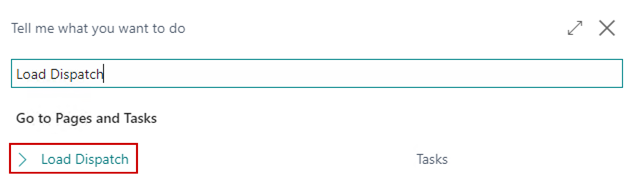
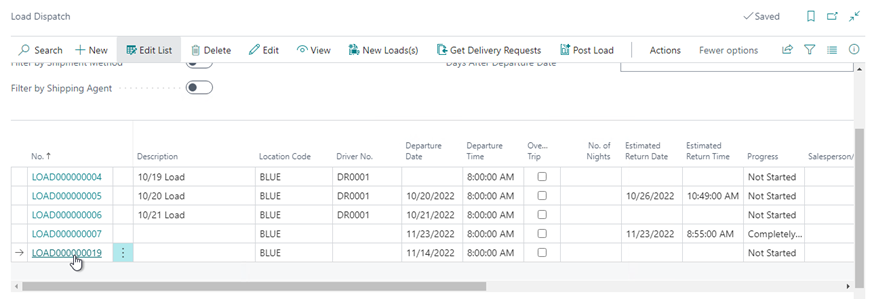
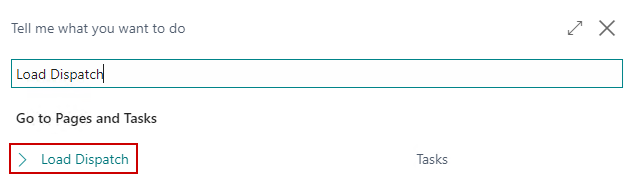
Click the magnifying glass, search for Load Dispatch, and select the related link:
On the menu, click the New Loads button:
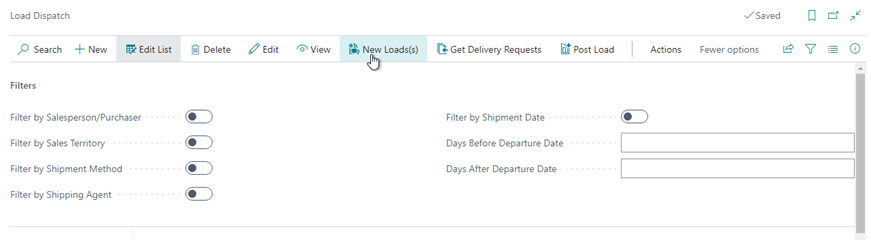
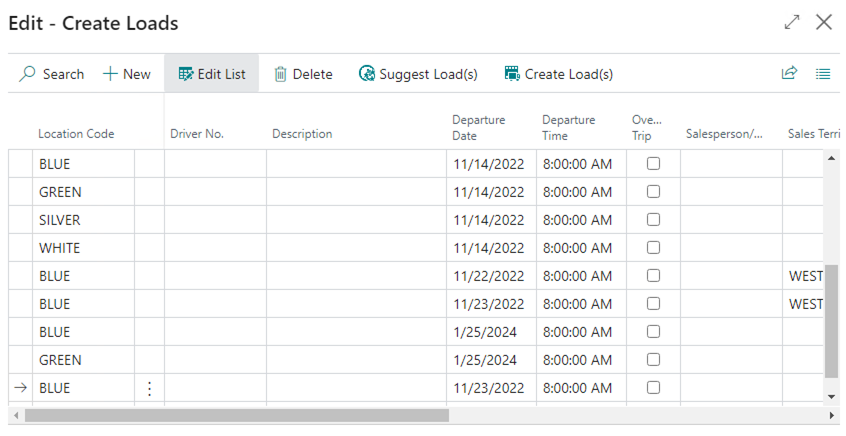
The Create Loads page will appear. On the menu, click Suggest Load(s):

Toggle the criteria you wish to separate Loads by and click OK:
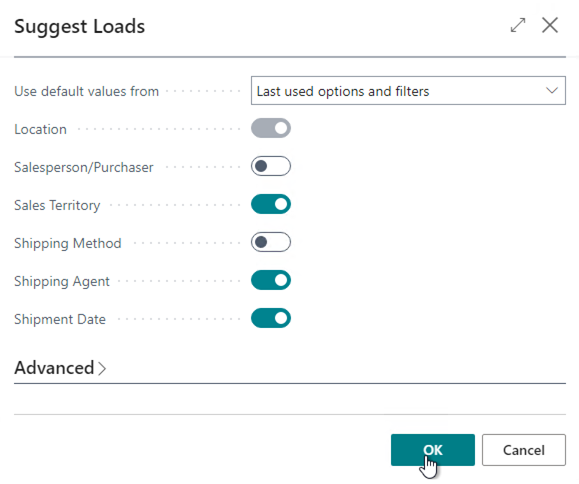
The system will bring Load suggestions in based on what was toggled:
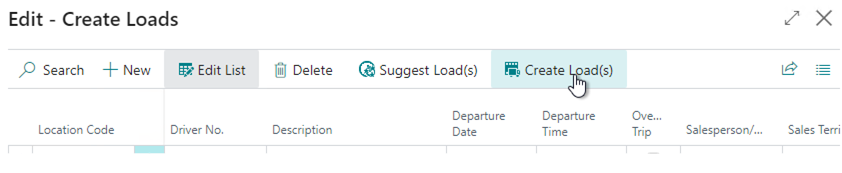
Delete any Loads that do not need to be created. Then click Create Loads on the menu:
The system will create the new loads. Load details can be viewed by clicking the hyperlink for the Load No:
How To: Create Loads by Driver
Click the magnifying glass, search for Load Dispatch, and select the related link:
On the menu, click the New Loads button:
The Create Loads page will appear. In the menu select Generate Loads by Driver .
In the Generate Loads by Driver page set the following parameters:
a. Location Code
b. Driver(s)
c. Starting Date
d. Day(s) to Create
The system will generate loads by driver. Load details can be viewed by clicking the Load No. hyperlink.
How to: Manually create Loads
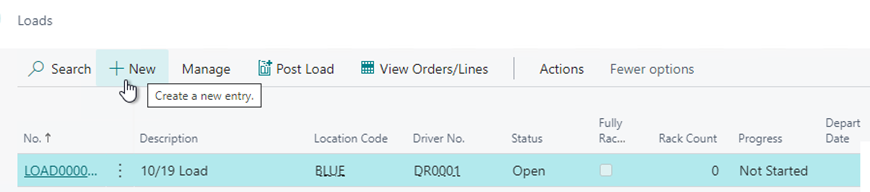
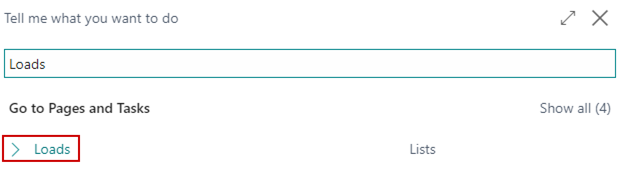
Click the magnifying glass, search for Loads, and click the related link:

On the menu, click New to create a new Load:
Enter the Location Code on the header as well as any other relevant information about the shipment:
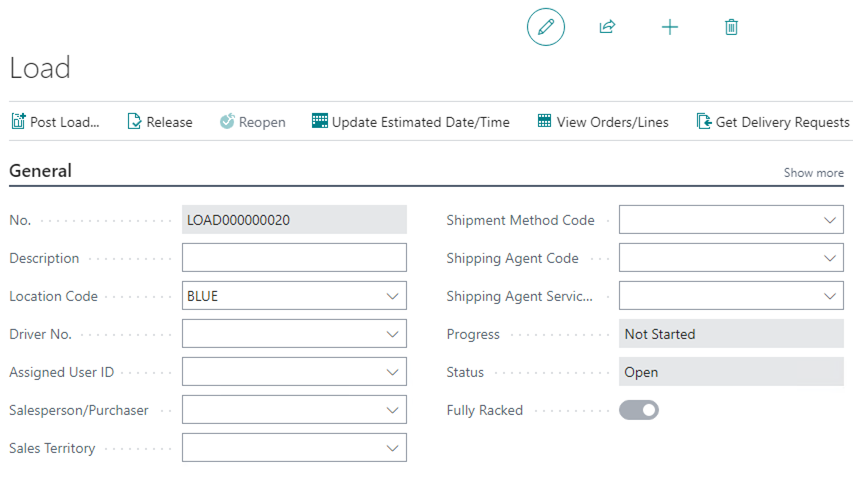
If you are using the Google Maps integration to calculate delivery times, you can click Show More and toggle on the Roundtrip toggle if the time it would take to return to the originating location should be considered:

Documents that can be pulled in on the load can be filtered by the following information on the Load Header, so populate this information if you would like to take advantage of filtering:
a. Salesperson/Purchaser
b. Sales Territory
c. Shipment Method
d. Shipping Agent
e. Departure Date
On the menu, click Get Delivery Requests:

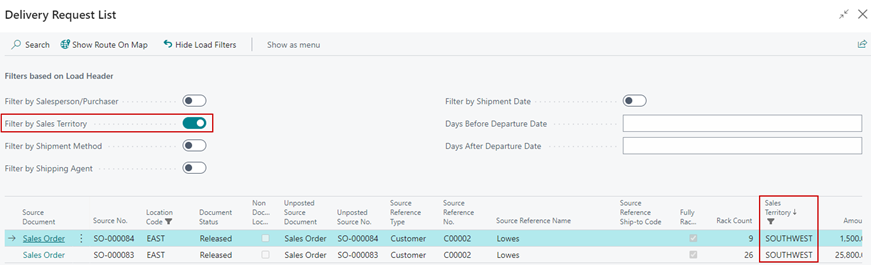
The Delivery Requests page can be filtered on manually by selecting the column you wish to filter by and setting a filter or based on the Load header by clicking Show Load Filters:

If the Filter subsection is collapsed, click the title to expand it:

The toggles can be used to set filters based on the Load header:
Select the documents to add to the Load and click OK:
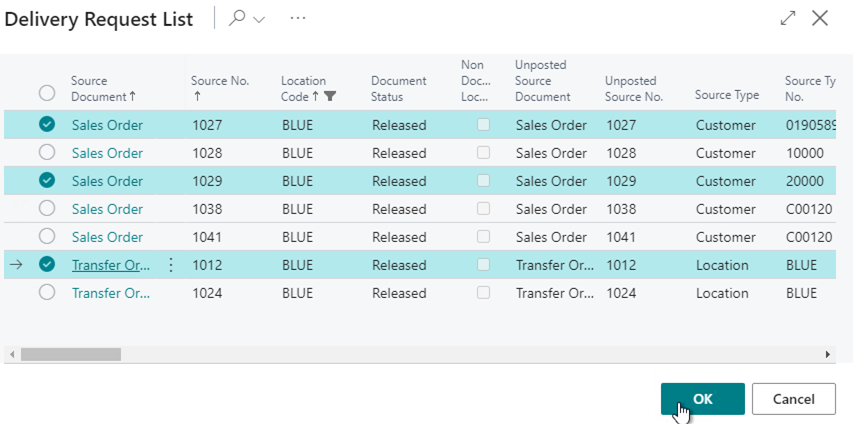
The documents will be added to the Load.
How to: Manually assign documents to existing loads
Click the magnifying glass, search for Load Dispatch, and select the related link:
Select the load to which to add documents:
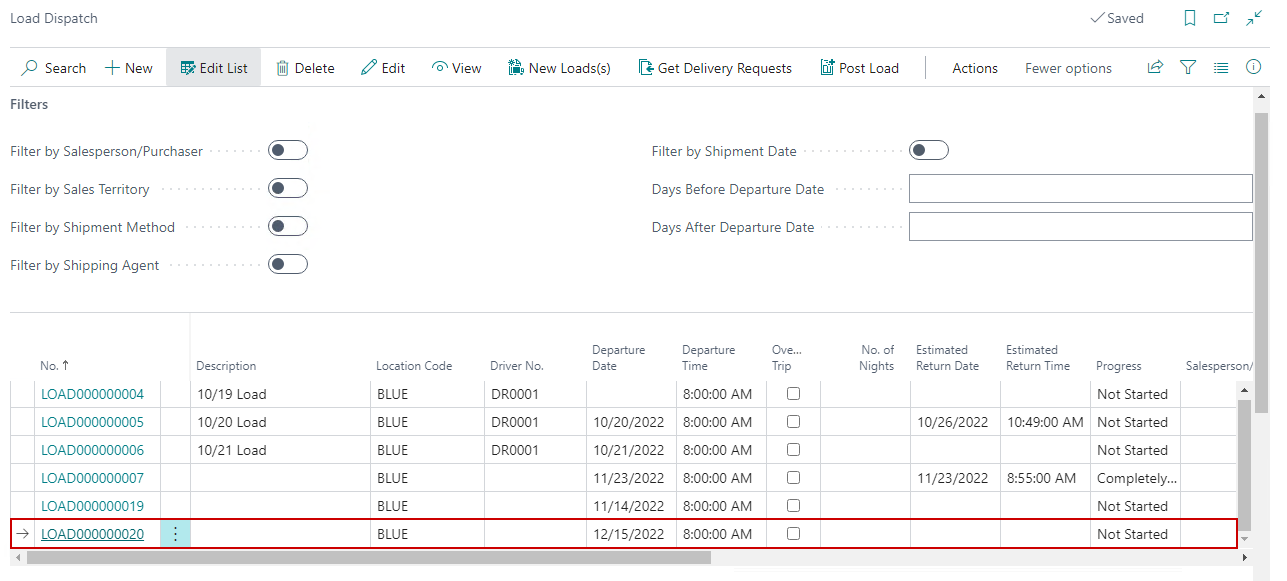
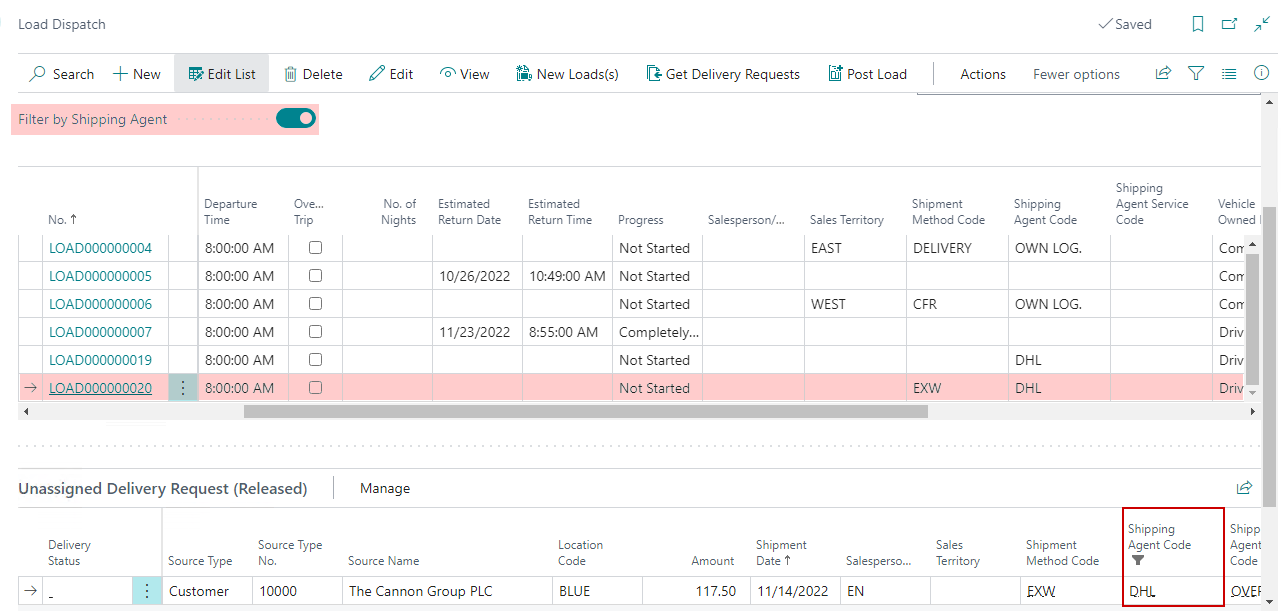
The Filters section can be used to filter down the Delivery Requests that have not yet been assigned to a Load. The filters are based on the corresponding selection on the Load:
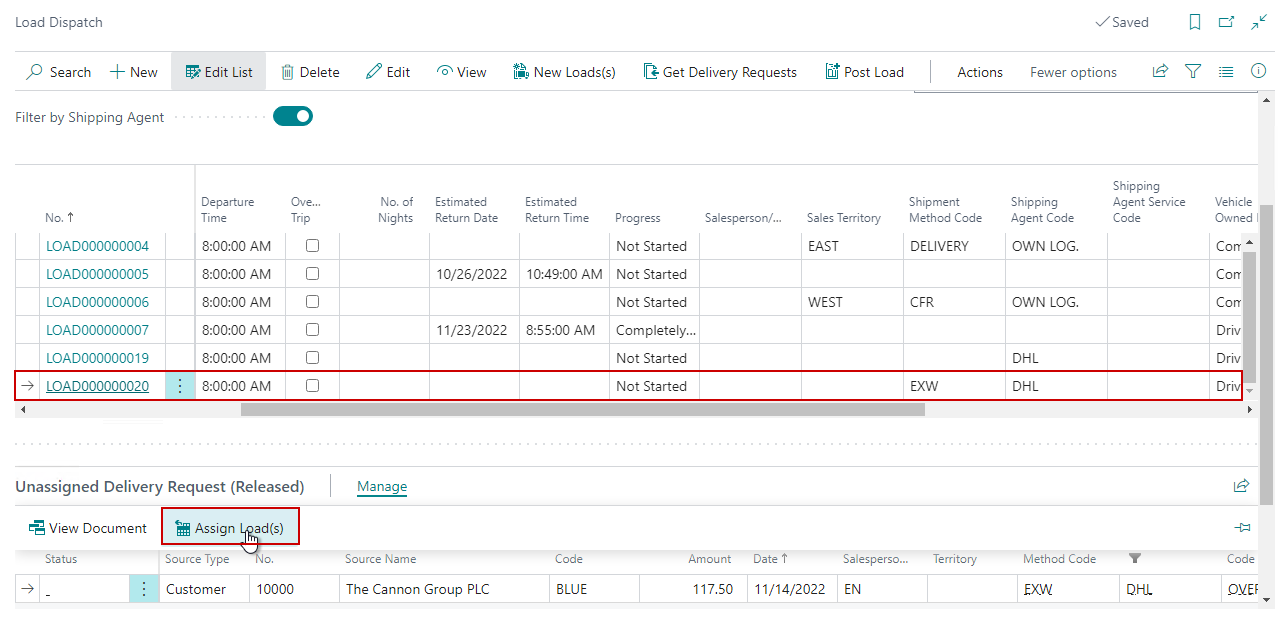
Clicking Assign Load(s) on the Unassigned Delivery Requests FastTab will assign the document to the selected Load:
How to: Manually override rack capacity for a truck on a load
Create a new Load and select the vehicle information on the Driver Information FastTab. The Vehicle Rack Capacity will default in based on the Vehicle Type:
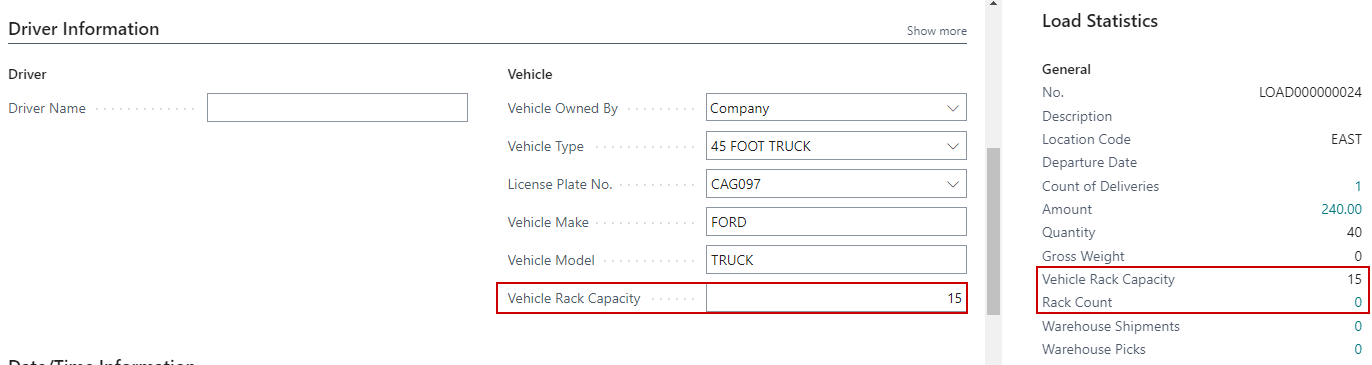
In the Vehicle Rack Capacity field, overwrite the default Vehicle Rack Capacity to the amount of Racks for which the vehicle has capacity:
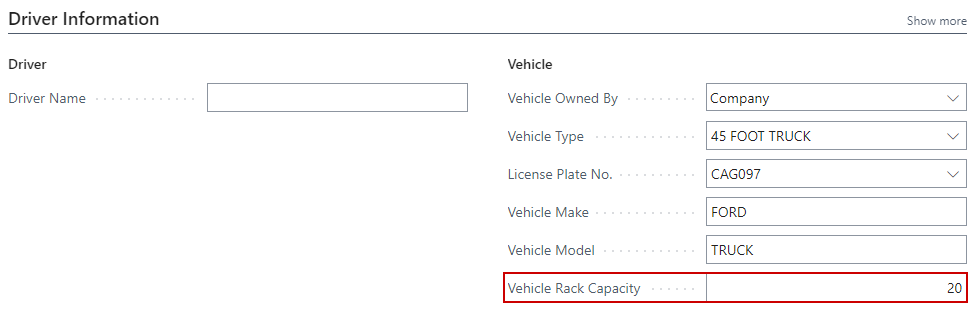
The system will use this rack capacity for this load.
How to: Optimize Routes and show the route in Google Maps
Open the Load for which you wish to optimize routes. On the menu, go toHome, click the drop down under Update Estimated Date/Time and choose the Optimize Route button.
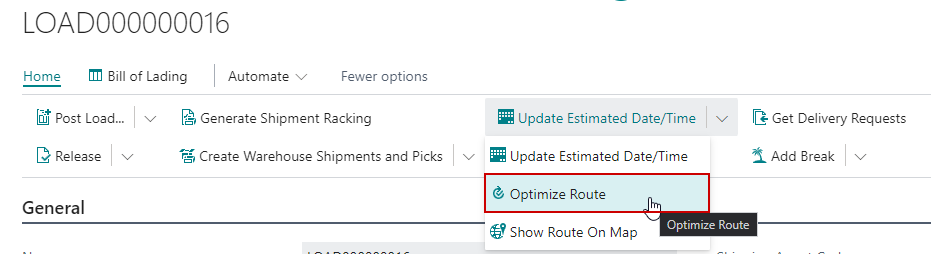
The load lines will be reorganized based on Google’s route optimization recommendation.
To see the route in Google Maps, go to Home, click the drop down under Update Estimated Date/Time and choose the Show Route on Map button:
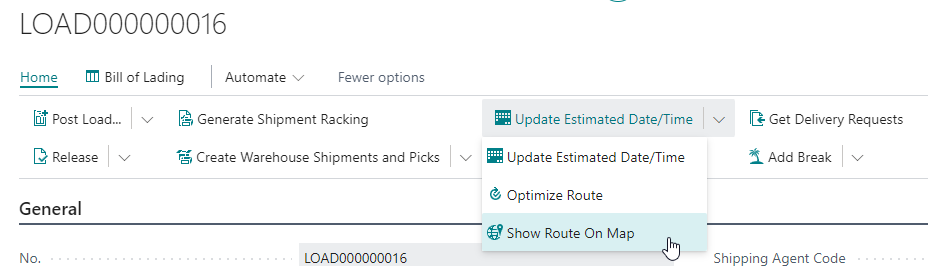
The route will open in Google Maps.
How to: Ship Loads
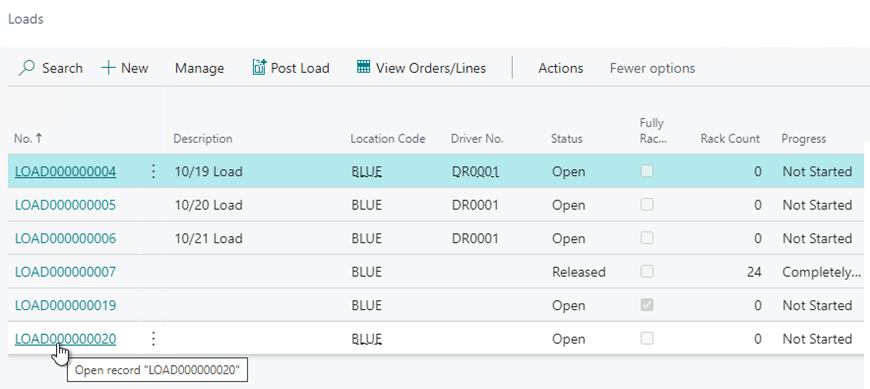
Click the magnifying glass, search for Loads, and click the related link:
Click the Load No. hyperlink to open the Load to ship:
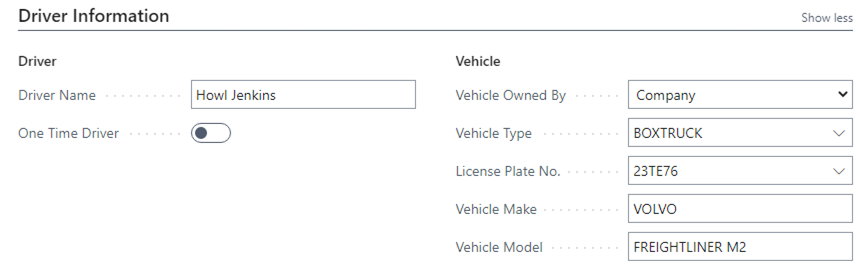
Enter the Driver and Vehicle information in the Driver Information FastTab:
On the menu, click Release to release the Load.

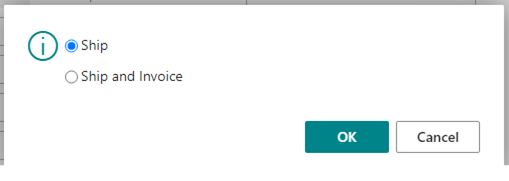
On the menu, click Post Load…

Select if you would like the related documents to be Shipped or Shipped and Invoiced and click OK:
The Progress field on the load will be updated:
The Delivery Status field will also be reflected on the individual documents:
How to: Complete Deliveries
Click the magnifying glass, search for Loads, and click the related link:
Click the Load No. hyperlink to open the Load on which to complete deliveries:
On the Lines FastTab, select the delivery to complete and go to Manage/Mark Selected Completed:
Enter the date and time the delivery was completed and click OK:
The delivery status will be updated for the completed deliveries:
When the final delivery is completed, the load will be closed out and moved to the Posted Load list.